 Books
Books Boxes and storage
 Ceramics
 Craft kits
 Floristry
 Jewelry making
 Knitting & Crochet
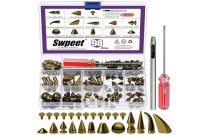 Leatherworking
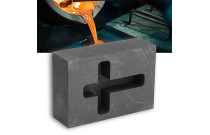 Metalworking
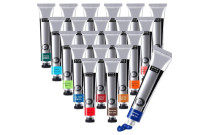 Painting
 Paper Crafting
 Sewing
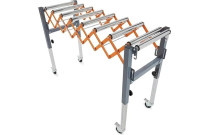 Various Craft Accessories
 Weaving
 Woodworking
 Agricultural Vehicle Parts and Equipment
 Auto Tools and Equipment
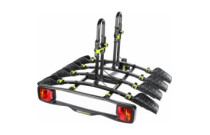 Bicycle Carriers
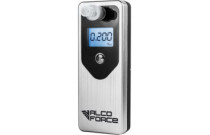 Breathalyzers
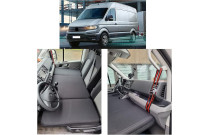 Camper Parts and Accessories
 Car Audio & Video Accessories
 Car Audio Equipment
 Car Care & Cosmetics
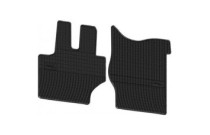 Car Floor Mats
 Car GPS Navigation
 Car Oil
 Car Painting
 Car Parts
 Car Refrigerators
 Car video equipment
 Dash Cameras
 Instruments
 NHOU anti-rust agents
 Other Car Accessories
 Radio Communication Devices
 Remote Controls
 Seat Covers
 Tyres and Accessories
 Winter Car Products
 Advent calendars
 Carnival Costumes & Accessories for Christmas
 Children Christmas Presents
 Christmas decorations
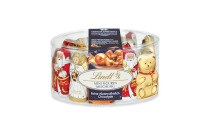 Christmas edible gifts
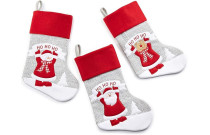 Christmas Stockings & Holders
 Christmas tree decorations
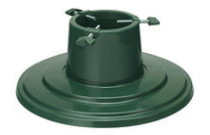 Christmas tree stands
 Christmas trees
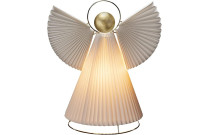 Indoor & Outdoor Christmas Lights
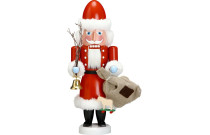 Nutcracker figurines and decor
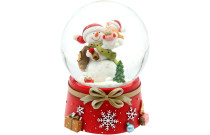 Snow globe
 Accessories
 Accessories for men
 Bags, Backpacks, Luggage
 Clothing for Kids
 Men
Men Women
Women Women's underwear
 Automotive products
 Bags
Bags Beauty and health
 Chemistry
 Children goods
 Clothing
 Discounted items
 Electrical goods
 Fishing
 Footwear
 Games
Games Hockey items
 Home and garden
 Sporting goods
 Sugar
Sugar Tourism
 Beverages
 Canned & Pickled Food
 Children's Food
 Condiments & Sauces
 Cookies & Other Baked Goods
 Cooking Ingredients
 Dairy Products, Eggs & Plant-Based Alternatives
 Fish & Seafood
 Fresh & Chilled Fruits and Vegetables
 Frozen Products
 Gourmet Gifts
 Grains, Porridges & Pasta
 Healthy Eating & Diet
 Hot chocolate
 Instant Food & Ingredients
 Jams, Jellies & Spreads
 Meat, Poultry & Sausages
 Oil, Vinegar & Sauces
 Prepared Fruit & Vegetables
 Prepared Meals & Side Dishes
 Snacks and Sweets
 Spices
  Vegeterian food
 Climate equipment
 Dishes
 Doors
Doors Heating
 Home decor
 Home security
 Interior
 Lighting
 Rugs and Door Mats
 Safe
Safe Activity & Entertainment
 Car Seats & Accessories
 Child Safety
 Decoration
 GLOBBER Transport
 Health & Baby Care
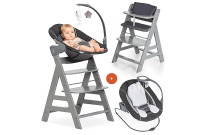 Highchairs, Seats & Accessories
 Memory Keeping
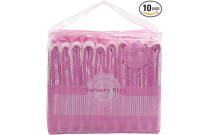 Nappy Changing
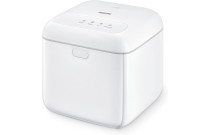 Nursing & Feeding;
 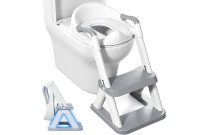 Potty Training & Step Stools
 School Supplies
 Strollers, Prams & Accessories;
  Toys
Toys BIO Toilets and Sanitizing Liquids
 Bird & Wildlife Care;
 Candles and vases for graves
 Carts and wagons
 Clothing and footwear
 Compost Bins
 For Picnic
 Garden Decorations
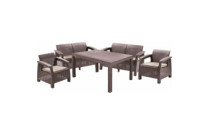 Garden Furniture
 Garden Ponds and Accessories
 Garden Storage Organization
 Gardening
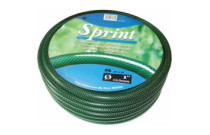 Irrigation Systems
 Outdoor Heaters & Fire Pits
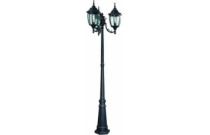 Outdoor lighting
 Outdoor Screens and Protection
 Plant Containers and Accessories
 Plants, Seeds, and Bulbs
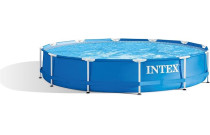 Pools, Hot Tubs & Supplies
 Sprayers & Accessories
 Spreaders
 Tents
Tents Thermometers & Meteorological Instruments
 Work Tools
 Bathroom furniture
 Bedroom furniture
 Children’s Room Furniture
 Hallway Furniture
 Kitchen furniture
 Living room furniture
 Office furniture
 Bath Products
 Bathroom Safety
 For Tanning
 Gua Sha
 Hair Care
 Hair Dryers
 Hair Stylers
 Health
 Make-up
 Manicure and Pedicure Accessories
 Massagers, Foot Baths
 Other Beauty and Health Products
 Other Care Products
 Perfumes
 Sauna Products
 Shaving & Hair Removal
 Skincare Products
 Soap
Soap PUBG (PlayerUnknown's Battlegrounds)
 Board Games
 Chess
Chess Collectibles
 For parties
 Gifts and Souvenirs
 Hobbies / Miscellaneous
 Levitation
 Musical Instruments
 Puzzles
 Scientific Kits
 Big home appliances
 Built-in home appliances
 Small Home Appliances
 Cleaning and Limescale Removal Products
 Glasses, Mugs, and Tableware
 Household & Cleaning Products
 Restaurant & Bar Supplies
 Batteries, Chargers, and Accessories
 Computer Cables & Accessories
 Computer components
 Currency Detectors
 Data carriers
 Drones
 Game consoles and accessories
 Laptops and accesories
 Laptops and accessories
 Multimedia
 Network equipment
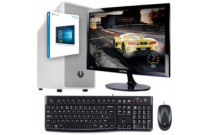 Personal computers and monitors
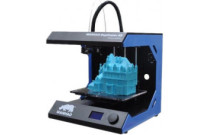 Printers and photocopiers
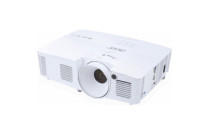 Projectors and accessories
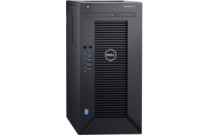 Servers and server components
 Software
 Supplies for printers
 Tablet PCs, E-Book Readers & Accessories
 Tv/Video accessories
 Motorcycle Accessories
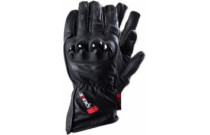 Motorcycle Apparel
 Motorcycle Electronics
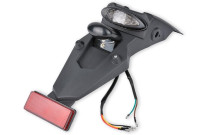 Motorcycle Lighting
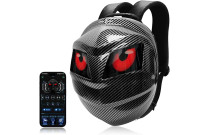 Motorcycle Luggage
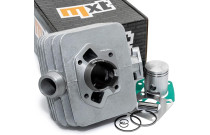 Motorcycle Parts
 Motorcycle Tools
 Desk accessories
 Erasers
 Folders and registers
 Maps
Maps Office desk organizers
 Other office supplies
 Pencils
 Scissors
 Accessories for mobile and smart phones
 Apple products
 Phones, smartphones
 Power Tools
 3D Printing & Scanning
 Abrasive & Finishing Products
 Agricultural Equipment & Supplies
 Catering Equipment and Supplies
 Cutting Tools
 Hydraulics, Pneumatics & Plumbing
 Industrial Chemicals
 Industrial Electrical Products
 Janitorial & Sanitation Supplies
 Laboratory and Scientific Products
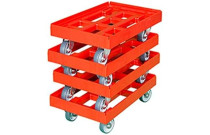 Material Handling Products
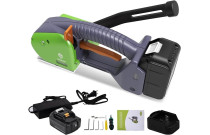 Packaging & Shipping Supplies
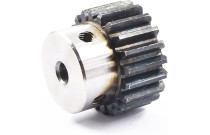 Power Transmission Products
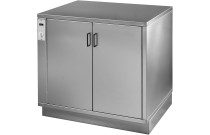 Professional Medical Supplies
 Raw Materials
 Scales
 Specialized Equipment
 Testing and Measurement
 Work Safety and Health Products
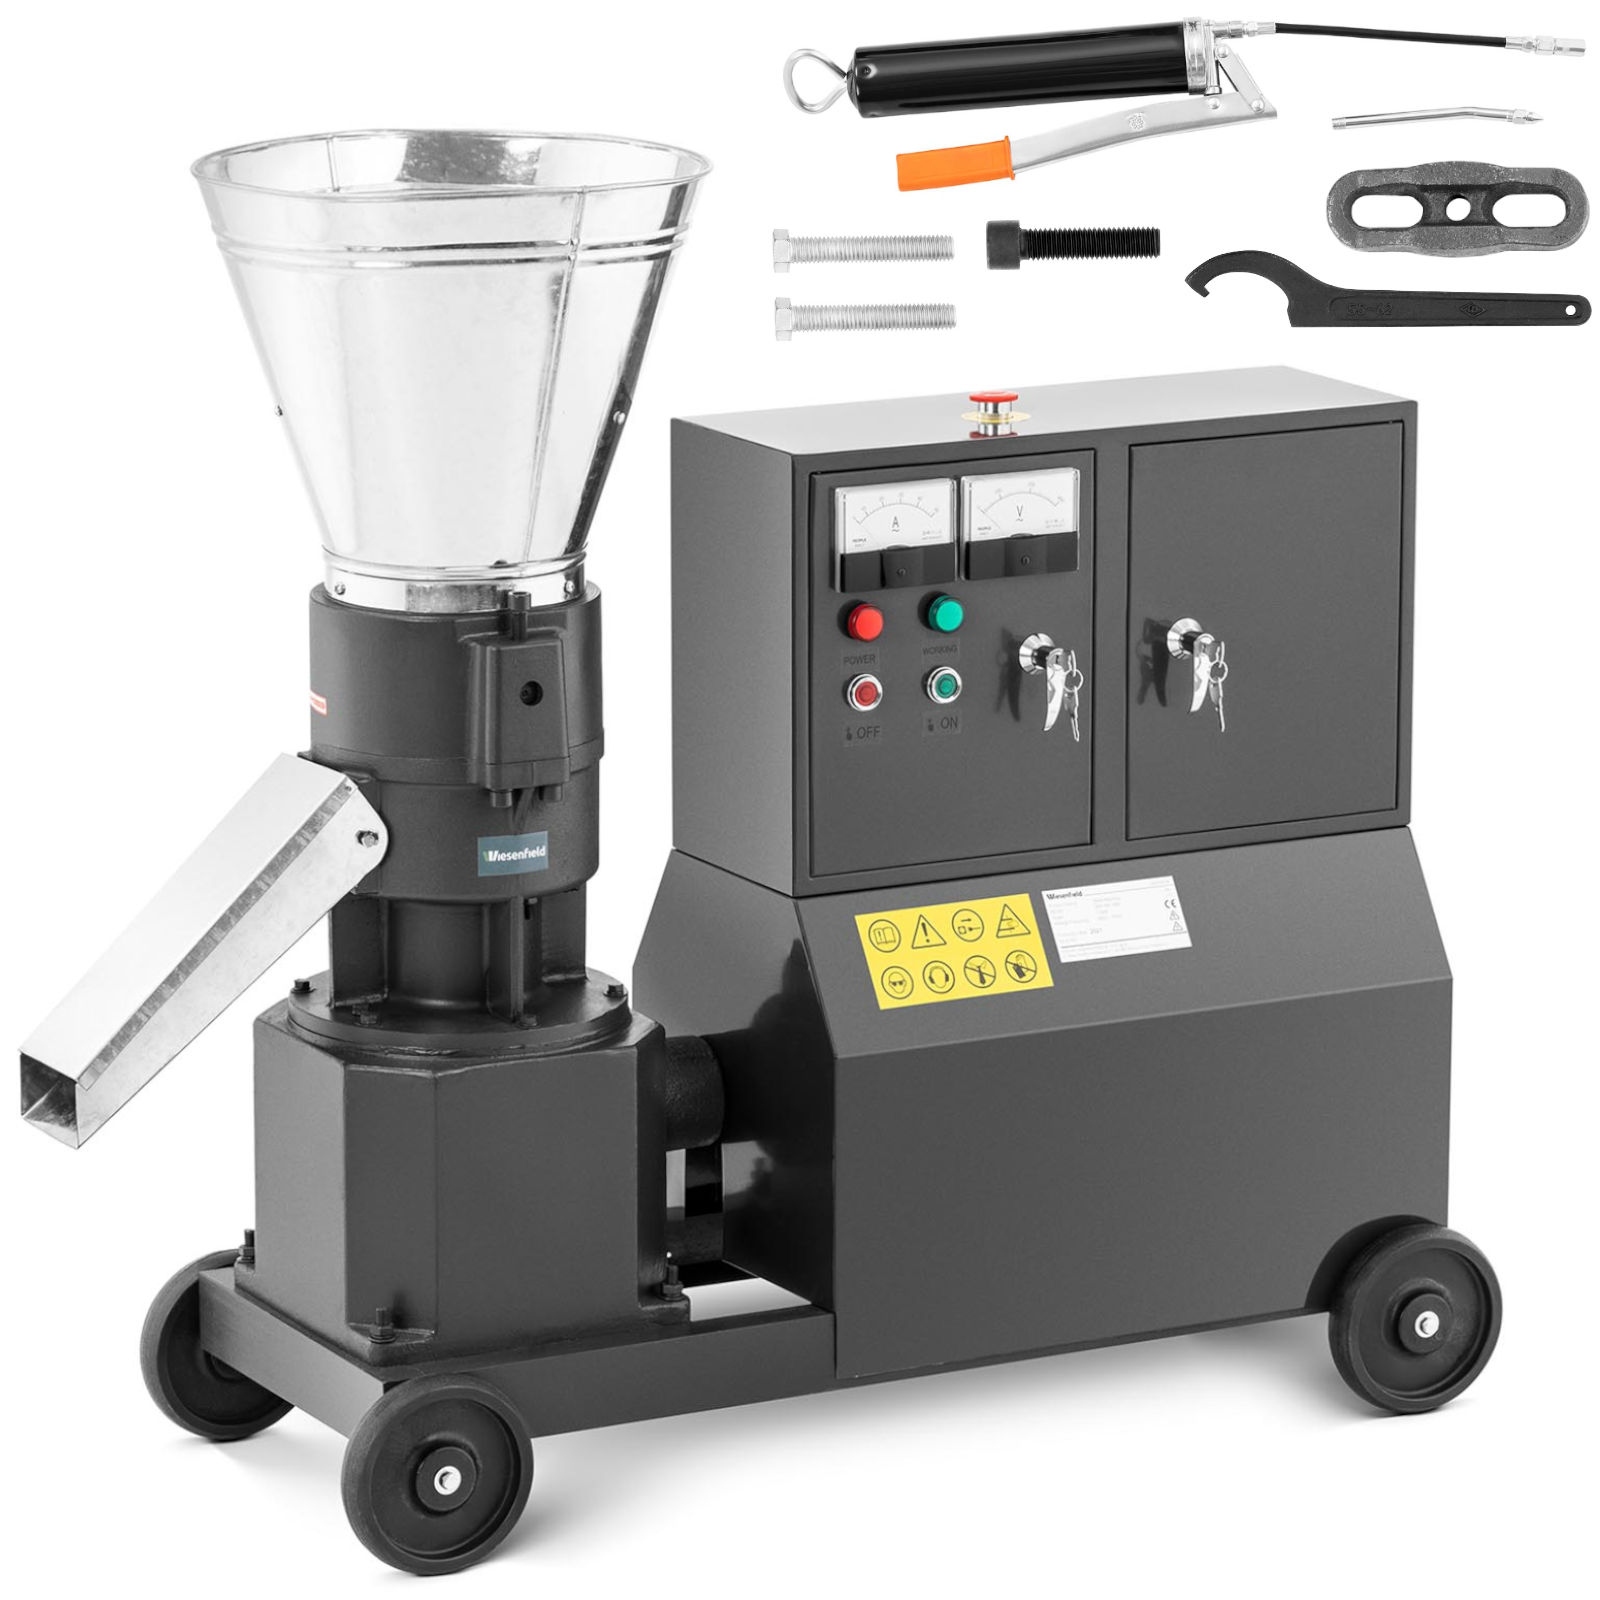 Workshop & Garage Tools
 Building materials
 Cleaning Tools
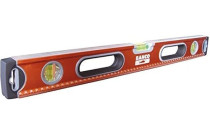 Measuring & Layout Tools
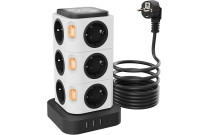 Multi-plugs
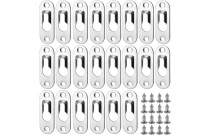 Nails, Screws, and Fastening Accessories
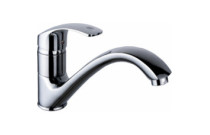 Plumbing
 Power Tools and Hand Tools
 Protection and Security
 Testers and Meters
 Work Benches, Shelves, and Tool Cabinets
 Workplace Safety
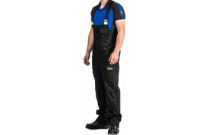 Workwear and Safety Footwear
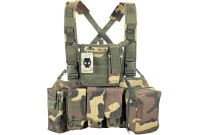 Airsoft
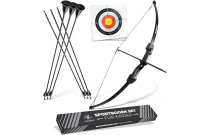 Archery
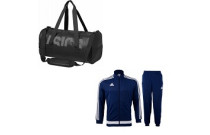 Bags, shoes and clothing
 Basketball
 Bicycles and accessories
 Billiards
  Exercise Equipment and Fitness
 Floor Curling
 Football
 Golf
Golf Other sports
 Outdoor Sports and Games
 Paintball
 Sport Technology
 Sports & Outdoor Recreation Accessories
 Sports Nutrition and Supplements
 SUP (Stand-Up Paddleboarding)
 Supporters' Gear
 Water sports
 Winter sports
 Climbing Gear
 Fishing
 Hunting
 Outdoor Clothing & Footwear
 Tourist GPS & Other Technical Devices
 Victorinox Small Pocket Knives
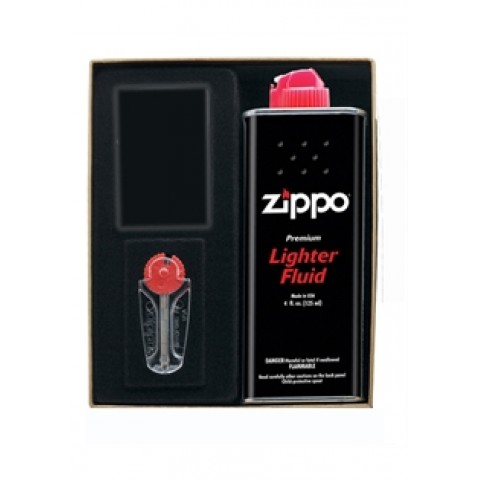 Fuel & Accessories
 Laptop Bags & Backpacks
 Luggage
 Travel Accessories
 Victorinox Swiss Knives
 ZIPPO Accessories
 Zippo Lighters
 Audio equipment
 Cables, Wires & Plugs
 Optical Equipment
 Photo Video Equipment
 Televisions and accessories
 TV, Video, and Audio Equipment Accessories
 Video equipment
 Cages and Enclosures
 Fish & Aquatic Animals
 For Birds
 For Cats
 For Dogs
 For Horses
 Other Pet Supplies
 Reptiles & Amphibians
 Small Animals
Cart
Your shopping cart is empty! - Arts & Crafts
- Car Accessories
- Christmas market
- Clothes, shoes, accessories
- Fast Delivery
- Food Products
- For Home
- For Kids
- For the Garden
 Garden Equipment
- Lawn Mowers & Tractors
- Leaf Blowers, Vacuums & Accessories
- Chain Saws
- Chippers, Shredders & Mulchers
- Generators & Portable Power
- Hedge Shears
- Lawn mowers
- Lawn Mowers, Parts & Accessories
- Metal Detectors
- Other Garden Equipment
- Outdoor Power Tool Accessories
- Pressure Washers
- Pruning Shears, Parts & Accessories
- Saws
- Tillers
- Weed Torches
- Wood and Branch Splitters
 Grills and Accessories
- Barbecue Aprons
- Barbecue Brushes
- Barbecue Carts
- Barbecue Cleaning Products
- Barbecue Cookware
- Barbecue Covers
- Barbecue Fans
- Barbecue Hoses & Regulators
- Barbecue Motors
- Barbecue Pellets
- Barbecue Replacement Parts
- Barbecue Thermometers
- Barbecue Utensils
- Barbecuing Planks
- Charcoal
- Drip Pans
- Flavoriser Bars
- Gas Cartridges
- Grill Grates
- Grills
- Rotisseries
- Furniture
- Health & Beauty
- Hobbies and Games
- Home Appliances
 Small Kitchen Appliances
- Accessories for coffee machines
- Accessories for water filters
- Air Fryers
- Blender
- Citrus fruit juice extractors
- Coffee grinder
- Coffee machine
- Deep Fryers
- Doughnut Makers
- Egg cooker
- Electric Kettles
- Electric kitchen knives
- Food Choppers
- Fruit dryers
- Grills
- Hot watwer dispenser
- Ice cream makers
- Ice Machines & Ice Crushers
- Juicers
- Kitchen Machines (Food Processors)
- Meat Grinders
- Microwave
- Milk foamers
- Mini Cookers
- Mixers
- Multifunctional boilers
- Other small kitchen appliance
- Pancake pans
- Pizza pans
- Popcorn Makers
- Toasters
- Vacuum packaging accessories
- Vacuum packaging devices
- Waffle pan
- Water filter systems
- Yoghurt Makers
- Household Goods
 Table and kitchen accessories
- Bottle Openers
- Bread boxes and baskets
- Cake decorating
- Cutting Boards
- Dish Drying Racks & Shelves
- Frying Pans
- Graters and Choppers
- Ice buckets
- Kitchen knives
- Kitchen textiles
- Lids
- Other Tools
- Ovenware and Baking Pans
- Pastry Tools
- Pepper and Salt Mills
- Spice and Oil Containers
- Tableware
- Tea accessories
- Timers and thermometers
- Trays
- Various Cookware
- Various kitchen accessories
- Wall shelves
- Wine accessories
- IT and equipment
- Motorcycle Accessories
- Office supplies and stationery
- Phones
- Professional Equipment
 Gastronomy
- Food Smokers
- GN Containers
- Waiter Accessories
- Wine Equipment
- Bain-Maries and Food Warmers
- Bar
- Canteen and restaurant supplies
- Catering and Food Transport Equipment
- Confectionery & Café Equipment
- Cooking Equipment
- Cookware and Kitchen Utensils
- Dishwashers and Glass Polishers
- Distillers and Beer Brewing Equipment
- Food Dehydrators
- Hotel Equipment and Hospitality Supplies
- Hygiene and Cleaning Supplies
- Kitchen Equipment
- Kitchen Robots
- Kitchen Scales, Timers, and Thermometer
- Pizzeria Equipment and Accessories
- Refrigeration
- Technological Furniture
- Vacuum Packaging Machines
- Ready to Ship within 24h
- Repair Tools and Supplies
 Power tools
- Chasers
- Compressors
- Drill Bits
- Drill Presses
- Electric screwdrivers and drills
- Engraving Tools
- Handheld Circular Saws, Jigsaws, and Saws
- Impact Wrenches
- Multifunctional tool
- Nailers & Staplers
- Nibblers
- Oscillating Tools
- Other Electric Tools
- Polishing machines
- Power Tool Accessories
- Rotary Tools
- Routers
- Sand Blasters
- Sanders
- Saws
- Tool Sets
- Welding Equipment & Soldering Irons
 Tools
Tools- Jaw Pullers
- Masonry & Tiling Tools
- Adhesives
- Caulking Guns
- Chisels
- Clamps
- Clamps
- Collets
- Crimpers
- Cutters
- Electrical Tape
- Engraving tools
- Files & Rasps
- Hammers
- Hand tool Kits
- Knives, Parts & Accessories
- Measuring tape
- Multitools & Accessories
- Other Tools
- Pliers
- Punches
- Riveters
- Sanding Tools
- Saws
- Screwdrivers
- Shears & Scissors
- Snips
- Sockets & Socket Sets
- Spanners & Wrenches
- Staplers & Tackers
- Strippers
- Taps & Dies
- Tool Bags
- Toolboxes
- Torches
- Various Tools
- Vices
- Sports
- Tourism Products
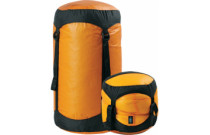 Camping & Hiking
- Lights & Lanterns
- Camping furniture
- Eating & Drinking Utensils
- Fire Starters
- Flashlights
- Hand & Foot Warmers
- Hydration
- Inflatable Mattresses, Mats & Pads
- Knife Sharpeners & Other Accessories
- Knives
- Personal Hygiene
- Portable Toilets
- Safety & Survival Gear
- Tent Accessories
- Tents
- Tourist Food
- Travel Backpacks & Other Bags
- Trekking Poles
- Various travel accessories
- Waterproofing & Cleaning
- Travel & Everyday Accessories
- TV, Video & Audio Equipment
- Zoo Products















 Ask your questions on WhatsApp